Once you have it opened:
Select > All Layers
Layer > Group Layers
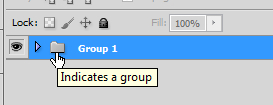
In the layers pallet, right click on the group (indicated by a folder icon) and Duplicate Group.
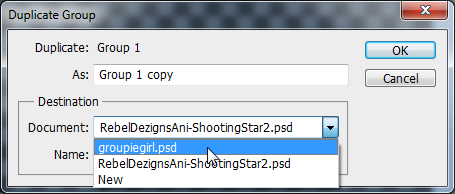
Don't hit ok
Find the name of your tag in the drop down box in the popup window first.
And THEN hit ok.
You can now close this animation without saving.
Back to your tag.
Tip
This part is optional, just in case you want any dark color removed from your animation.
Highlight the group and look at the top of your layers pallet.
There is a dropdown box that has the word "Pass Through" in it.
Click on that box and choose Linear Dodge.
You can now move the group anywhere you want using the Move tool.
Now comes the fun part...
Make sure the group is open (click the arrow beside the folder icon to "open" the folder)
You need to make a new frame for each of the animation's layers.
This will take a minute or two, so you may as well go have lunch or a cup of coffee before you get started.
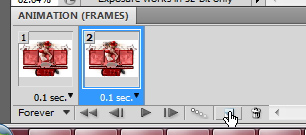
You have your animation window open, right? (Main Menu: Window > Animation [or Timeline, in newer versions])
You already have your first frame already there.
Duplicate the frame by clicking on the folded paper icon at the bottom of your animation window.
At this point, you are going to need to pay close attention, since the layers are named "frames".
In the LAYERS pallet:
Hide the "Frame 1" layer in your group and unhide the "Frame 2" layer .
In the ANIMATION window (or timeline):
Duplicate this frame .
Hide the Frame 2 layer and unhide the Frame 3 layer .
Repeat this for ALL the Frame layers.
This will make 25 frames in your animation (if you used one of mine). One animation layer per frame.
If you would like less frames, simply delete the odd frames in your animation window. (CTRL + click on every odd frame)


 Tip
Tip